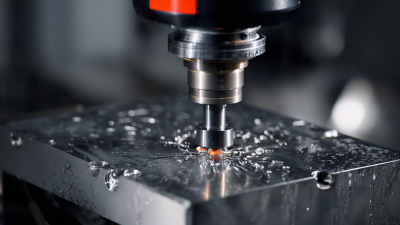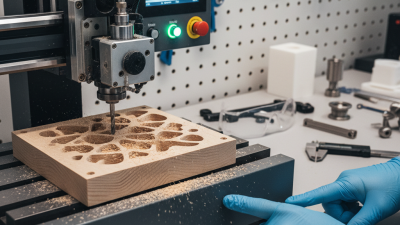
Choosing the right mini cnc mill can shape every project that follows. A compact machine may sit neatly beside your workbench, yet its limits become obvious when cutting aluminum or drilling deep holes. Size alone does not define performance.
This guide examines ten practical points that experienced makers and small workshops should consider. We will look at spindle speed, working travel, rigidity, accuracy, control software, tooling, maintenance, noise, safety features, and manufacturer support. A sturdy frame matters when a 6 mm cutter meets hard material. Low runout matters when precise holes must align. Even a clear manual can save hours of unnecessary frustration.
Real-world details often reveal more than impressive product photos. Check whether the vise fits your parts. Measure the machine’s actual footprint, including cables and chip clearance. Ask how replacement collets, belts, and control boards are supplied. Reviews from long-term users may expose problems that specifications overlook. Some machines advertise impressive speed but struggle under steady cutting pressure. That difference is easy to miss.
There is no perfect choice. I have learned that a cheaper mill can become expensive after upgrades, while a premium model may offer features beginners never use. Your materials, workspace, budget, and patience should guide the decision. Take time to question uncertain claims. A careful comparison can turn a small benchtop machine into a dependable tool rather than an attractive disappointment.
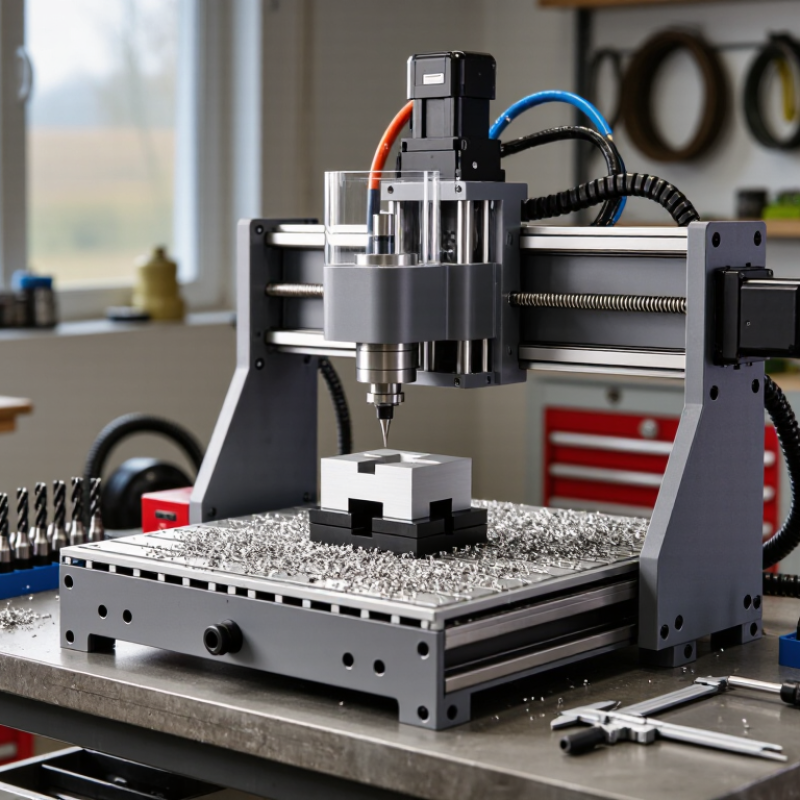
Before comparing spindle speed or table travel, define what your mini CNC mill must produce. Write down the materials, tolerances, part sizes, and weekly workload. A machine for aluminum brackets needs different rigidity than one for small plastic prototypes. Grand View Research valued the global CNC machine market at about $83.6 billion in 2022, with strong projected growth through 2030. That expansion does not mean every compact machine suits every workshop.
Measure the workspace honestly. Include the mill, control cabinet, chip tray, tooling, and a safe access zone. A 600-millimeter bench may leave too little room for maintenance. Check door widths, floor strength, ventilation, lighting, and electrical capacity. DOE guidance on compressed-air systems reports that leaks can waste 20–30% of compressor output, so utility planning matters even for a small setup. You may not need compressed air, but ignoring future needs can become expensive.
Make a simple floor sketch. Mark the operator’s standing position and material-loading path. Keep coolant, chips, and cables away from walking areas. OSHA machine-safety guidance emphasizes guarding and safe access around moving equipment. My own planning mistake was measuring the machine footprint without measuring the opened enclosure. It fit on paper. It did not fit comfortably. Leave room for mistakes, because real workshops rarely stay unchanged.
A practical planning model that assigns 100 points across the factors that most directly affect mini CNC mill selection.
Start by ranking your actual work: material compatibility, usable work envelope, dimensional accuracy, and available workspace should receive the greatest attention. The percentages are planning weights, not market-survey results, and can be adjusted to match your projects.
A mini CNC mill should fit the work, not merely fit the workshop. Measure X, Y, and Z travel with the tool holder installed. Published travel often excludes clamps, vises, and safe clearance. Leave room for workholding. A cramped envelope creates frustrating repositioning.
Speed matters, but higher spindle speed cannot rescue weak cutting performance. Match spindle speed and feed rate to the material, cutter diameter, and cut depth. Check whether the motor maintains power under load. I prefer usable torque over impressive no-load numbers. Short rapids save time, yet accuracy suffers if acceleration causes vibration. Test both rapid movement and controlled cutting.
Rigidity deserves serious attention. Examine the frame, column, slides, and connection points for flex. A heavy structure usually handles deeper cuts with fewer chatter marks. However, mass alone proves nothing. Poorly supported rails can still deflect. I once prioritized travel range and accepted a lighter frame. That choice looked efficient, but aluminum cuts exposed ringing and uneven walls. I would now compare a sample cut, measured backlash, and repeatability instead of trusting specifications alone. Power, travel, speed, and rigidity must work together. A balanced machine often outperforms a faster, larger one. Small compromises remain unavoidable.
10 Tips for Choosing the Best Mini CNC Mill
Check Software, Control Systems, Tooling, and Material Compatibility
Choosing a mini CNC mill requires more than comparing size and price. Start with the software. Confirm that it accepts common design files and offers clear toolpath previews. A reliable simulator can reveal collisions before a cutter touches metal. I once trusted a clean preview too quickly. The setup still needed a manual check.
Tip 1: Test the control system before buying. Jogging should feel smooth, and emergency stops must respond immediately. Check whether the controller supports feed-rate changes, work offsets, probing, and recovery after power loss. Simple screens are often safer for beginners. Complex menus can slow production.
Tip 2: Match tooling to your real work. Check spindle speed, collet sizes, cutter diameter, and tool-change clearance. Small end mills may cut aluminum well but struggle with harder materials. Wood, plastic, aluminum, and steel each produce different heat and chip patterns. Never assume one cutter suits everything.
Tip 3: Review material compatibility in the technical manual. Look for stiffness, spindle torque, coolant guidance, and maximum cutting depth. A rigid frame helps maintain accuracy during repeated passes. However, advertised accuracy may depend on careful setup and maintenance. Expect to verify it yourself with test cuts, calipers, and a simple square.
| No. | Selection Area | What to Check | Practical Benchmark or Requirement | Why It Matters |
|---|---|---|---|---|
| 1 | Define the Work Envelope | Compare the usable X, Y, and Z travel with the largest parts you intend to machine. Allow extra room for workholding, clamps, and tool clearance. | Choose a work envelope at least 10–20% larger than the finished part whenever possible. | A machine can have adequate overall dimensions but still be unsuitable if the usable travel is reduced by fixtures or tooling. |
| 2 | Evaluate Spindle Speed and Power | Check the spindle speed range, rated power, torque characteristics, runout, and whether the spindle is designed for continuous operation. | Higher speeds support small cutters and softer materials; higher torque is important for larger tools and deeper cuts in metals. | Spindle performance affects cutting speed, surface finish, tool life, and the machine's ability to remove material without stalling. |
| 3 | Check Software Compatibility | Confirm support for standard G-code, post-processors, toolpath simulation, work offsets, probing routines, and the operating systems used in your workflow. | The control software should accept common G-code commands and provide simulation or verification before machining. | Compatible software reduces setup errors and makes it easier to move designs from CAD to CAM and then to the machine. |
| 4 | Inspect the Control System | Review the controller's motion resolution, acceleration control, emergency-stop behavior, limit switches, homing functions, and recovery after a power interruption. | Look for reliable homing, clearly defined machine limits, emergency stopping, and the ability to resume or safely restart a job. | A capable control system improves repeatability and helps protect the operator, machine, workpiece, and cutting tools. |
| 5 | Assess Frame and Guideway Rigidity | Examine the frame construction, guideways, ball screws or lead screws, bearing support, and resistance to vibration under cutting loads. | For metal cutting, prioritize rigid structures and supported guideways over lightweight construction designed mainly for plastics or wood. | Deflection and vibration can cause chatter, poor surface finish, dimensional errors, and premature tool failure. |
| 6 | Match Tooling and Collet Capacity | Check the spindle interface, collet sizes, maximum tool diameter, tool length limits, compatibility with drills and end mills, and tool-change method. | Use a collet system that securely holds the cutter size range required for your projects, with minimal runout. | Proper tool holding improves concentricity, reduces vibration, and prevents cutters from slipping during heavy or rapid cuts. |
| 7 | Confirm Material Compatibility | Identify whether the machine is intended for plastics, wood, non-ferrous metals, steel, or only light engraving. Check rigidity, spindle torque, chip evacuation, and cooling provisions. | Wood and plastics generally require less cutting force; aluminum requires rigidity and chip control; steel requires substantially greater rigidity, torque, and appropriate cutting parameters. | Using materials beyond the machine's structural and thermal capability can produce unsafe cutting conditions and damage the equipment. |
| 8 | Review Accuracy and Repeatability | Distinguish between positioning accuracy, repeatability, backlash, and actual cutting accuracy. Ask how measurements were obtained and under what load. | For precision work, review measured repeatability and backlash rather than relying only on a general resolution figure. | A small step size does not automatically mean high accuracy; mechanical play and deflection can dominate the final result. |
| 9 | Plan Chip, Dust, and Coolant Management | Check whether the machine supports a dust shoe, enclosure, chip tray, air blast, mist, or flood coolant, and determine how waste is removed. | Wood and composites benefit from dust extraction; metals require effective chip removal and, depending on the operation, suitable lubrication or coolant. | Good debris management protects moving components, improves visibility, reduces recutting, and supports safer operation. |
| 10 | Consider Maintenance and Support | Check access to wear parts, lubrication points, spare collets, replacement cutting tools, manuals, wiring diagrams, and technical documentation. | Prefer a machine with documented maintenance intervals, accessible components, and readily available standard consumables. | Simple maintenance and clear documentation reduce downtime and help preserve accuracy over the machine's service life. |
A reliable mini CNC mill should make safety visible, not merely promise it. Check for a rigid enclosure, an accessible emergency stop, and secure door interlocks. Confirm that moving parts cannot reach loose sleeves or fingers during operation. Tip four: inspect the electrical grounding and overload protection. Tip five: review the control system’s restart behavior after a power failure. It should not resume motion unexpectedly.
Setup demands deserve equal attention. Measure the machine footprint, including space for doors, cables, and chip removal. Check the required voltage, bench strength, and ventilation before purchase. A heavy steel table usually reduces vibration and improves cutting consistency. Tip seven: verify that leveling adjustments are practical. Tip eight: confirm that tooling, clamps, and collets are readily available. I once underestimated cable clearance, and the mill had to be repositioned twice. That mistake was avoidable.
Maintenance needs can determine long-term value. Look for accessible lubrication points, protected guideways, and clear service instructions. Tip nine: ask how easily chips can be removed from the work area. Tip ten: examine whether belts, filters, and sacrificial parts are replaceable without special equipment. Record lubrication dates and inspect unusual noise early. Keep a small brush nearby. Never use compressed air carelessly around bearings or electrical components. Some maintenance schedules seem simple on paper, but real workshops get busy, so choose a design you will actually maintain.
A mini CNC mill should balance build quality, support, expandability, and total cost. Tip 1: Inspect the frame, column, and table for rigidity. Tip 2: Prefer preloaded linear guides and measurable spindle runout. Tip 3: Check repeatability data, not only maximum speed. Tip 4: Ask whether the machine has passed documented accuracy tests. ISO 230-2 provides a useful reference for positioning accuracy and repeatability.
Tip 5: Calculate total cost before ordering. Include tooling, software, workholding, dust control, maintenance, training, and shipping. Tip 6: Test support response with technical questions. Clear answers matter more than attractive promises. Tip 7: Review spare-part availability and repair instructions. Grand View Research valued the global CNC machine market at approximately 83.99 billion dollars in 2023, with strong projected growth through 2030. More buyers can mean more accessories, but not necessarily better service. That distinction is easy to miss.
Tip 8: Check expansion paths for a rotary axis, probing, enclosure, and improved control hardware. Tip 9: Match the spindle to your real materials. Aluminum needs different cutting capacity than plastics or hardwood. Tip 10: Compare five-year ownership costs, including downtime. Deloitte’s 2024 manufacturing survey reported that 86 percent of manufacturers viewed smart manufacturing as important for competitiveness. Connectivity helps, but it can add complexity. I have seen inexpensive machines become costly after small upgrades. Sometimes, a less powerful mill with stronger documentation wins. Weak points remain. Allow budget for mistakes, because the first tooling setup rarely goes perfectly.